
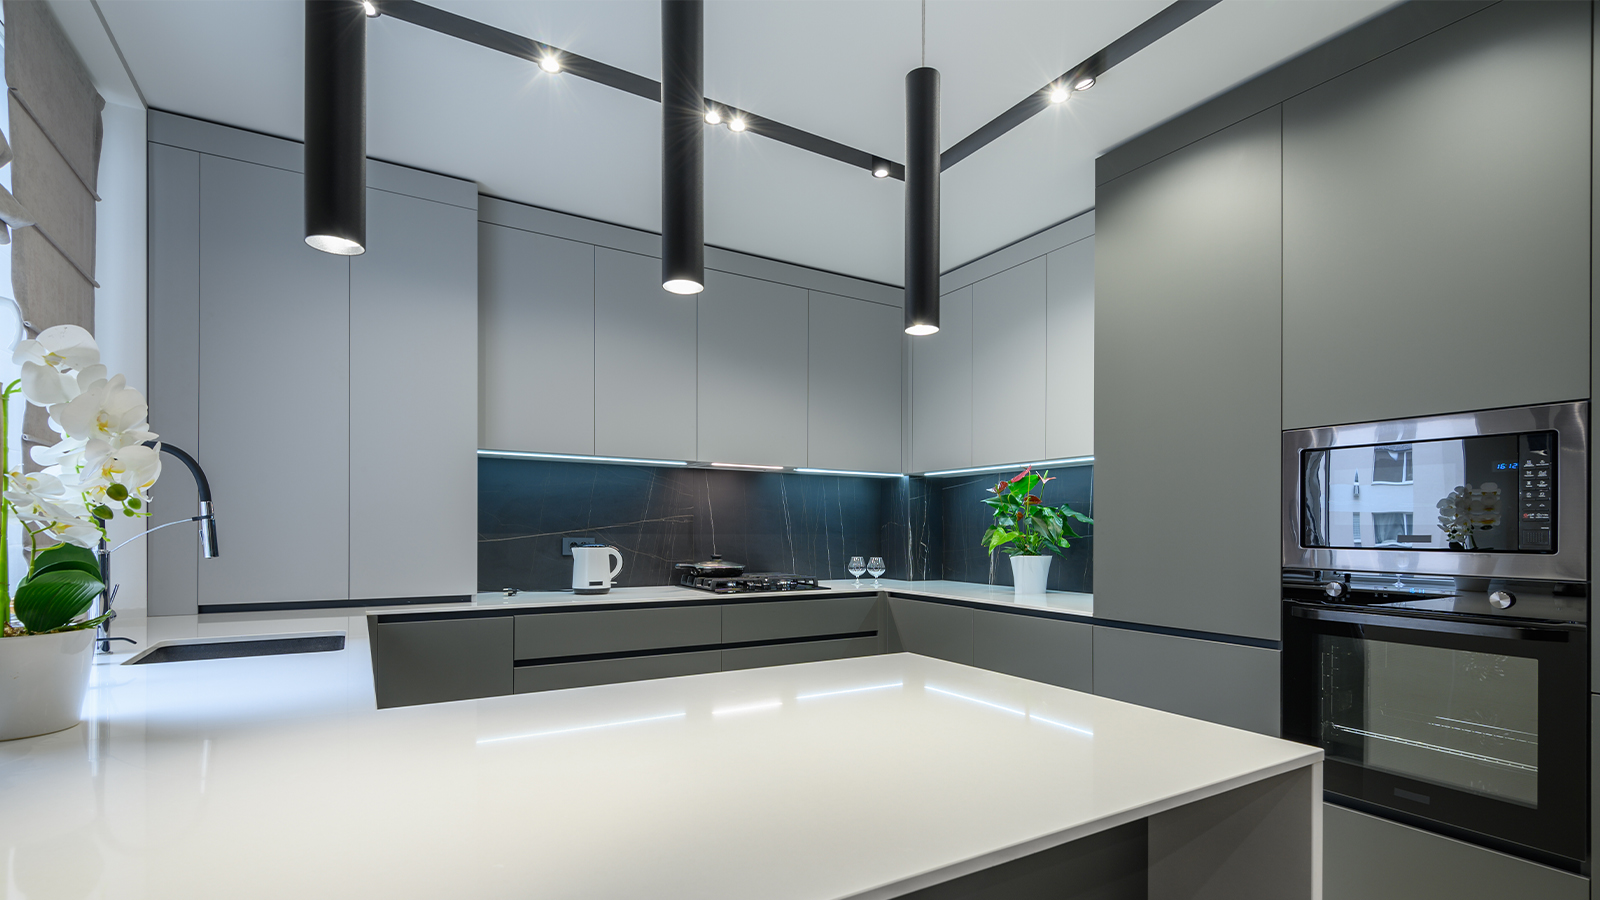
The best kitchen lighting plan uses three layers that work together. Ambient overhead recessed lighting gives you general coverage. Task lighting under the cabinets helps with countertop work. Accent pendant lighting over the island adds style and mood. Kitchen lighting isn’t something you pick out after the cabinets are hung. It’s a structural decision. It needs to be made alongside your layout, right next to your cabinetry and electrical rough-in. That’s exactly how we approach kitchen remodeling at HL Remodeling. Below, we break down placement, brightness, color temperature, and cost for each layer. This way, you can check any contractor’s plan against real numbers instead of guesswork.
Key Takeaways
- Space recessed lights using the ceiling-height-divided-by-two rule. Aim for about 20 lumens per square foot of general kitchen coverage.
- Keep color temperature between 2700K and 3000K across recessed, pendant, and under-cabinet lighting. This keeps the look warm and matched.
- Hang island pendants 30 to 36 inches above the countertop. Size them so their combined width covers half to two-thirds of the island’s length.
- Pair pendants with a dimmer, such as a Lutron dimmer rated for LED loads. This way, the same fixture works for both prep work and entertaining.
- Budget $1,800 to $4,500 for a mid-range Houston kitchen lighting package, or $5,500 to $12,000 and up for a fully layered luxury plan.
Why Lighting Layers Matter in a Luxury Kitchen Remodel
Most Houston builders install just one ceiling fixture, or an evenly spaced row of recessed cans, by default. This creates flat light with no shadow and no depth. It photographs poorly, and it feels poor in person too, no matter how much you spent on cabinets or countertops. This is the quiet weak spot in a lot of otherwise strong renovation budgets.
The Problem With a Single Layer of Light
Ambient lighting alone makes a room visible. But it doesn’t make a countertop safe for chopping vegetables. And it doesn’t make a kitchen feel designed. Task lighting handles the work surfaces. This is exactly where under-cabinet lighting earns its place in the plan. Accent lighting, usually pendants, gives the space personality and warmth once the cooking is done and the entertaining starts.
Form, Function, and Resale Value Working Together
Kitchen remodels are some of the strongest renovation projects for return on investment. Lighting is one of the easiest upgrades to fold into any home renovation budget without blowing it up. The lighting plan is part of what makes a kitchen look finished instead of unfinished. In Houston’s open-concept layouts, the kitchen flows right into the dining and living space. So lighting has to work even harder there. Sightlines carry straight from one room into the next. A renovation that treats lighting as decoration instead of a structural piece tends to show it. Across the kitchen remodeling costs in Houston projects we take on, the layered approach is the most common choice homeowners land on once they see it next to a single flat ceiling fixture.
If you’re still weighing whether a full kitchen overhaul makes sense this year, our guide on kitchen remodeling costs in Houston is a good next read before you lock in a lighting budget.
Recessed Lighting: Spacing, Lumens, and Placement Rules
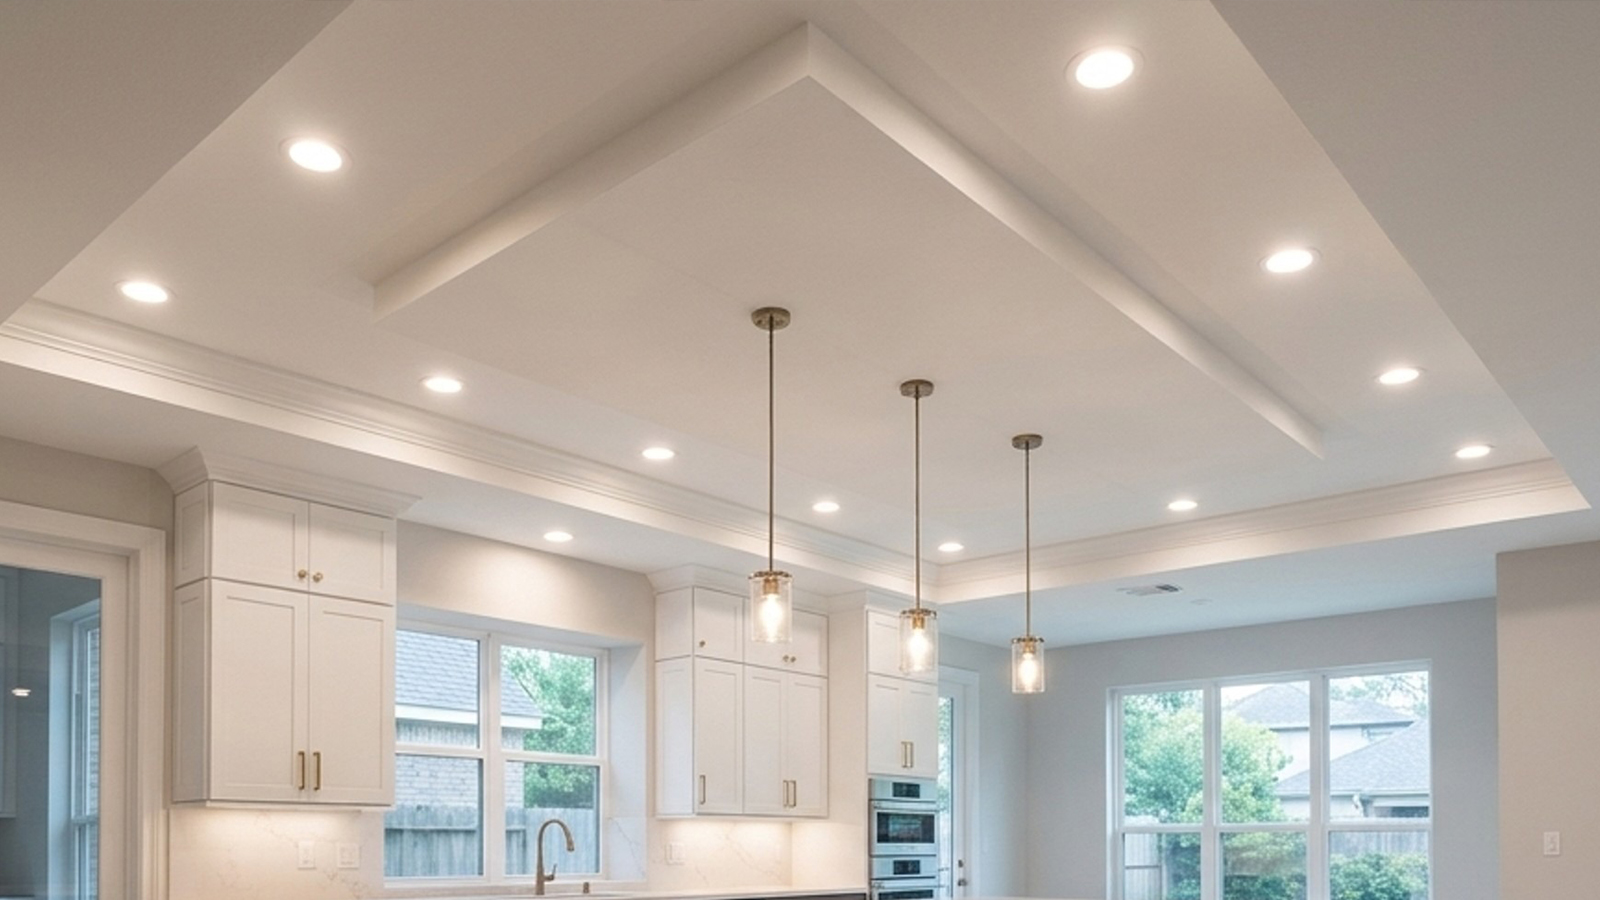
Overhead recessed lighting is the ambient backbone of a kitchen. Getting the spacing wrong is the single most common mistake we see corrected mid-remodel.
The Ceiling-Height Spacing Formula
Divide your ceiling height by two to get your spacing in feet. An 8-foot ceiling calls for recessed lights spaced about 4 feet apart. For general ambient coverage, aim for about 20 lumens per square foot of kitchen floor area. Bump that number up over work zones like the island and the main counter run. Housing type matters as much as spacing. Houston attics run hot and humid. So IC-rated and airtight housings, like those from Juno recessed lighting, stop heat buildup. They also keep conditioned air from leaking into the attic through the fixture.
Where Not to Place Recessed Cans
A few placement habits create problems that are costly to fix after the drywall goes up:
- Don’t center a can directly above upper cabinets. It throws glare onto the cabinet face instead of light onto the countertop below.
- Don’t place cans within about a foot of a wall. Light that close to a wall lights it unevenly instead of lighting up usable space.
- Don’t skip layout planning with cabinet drawings. Recessed lights placed before cabinet design is finalized often end up in the wrong spot once the uppers and islands go in.
If a contractor hands you a lighting layout before your cabinet drawings are finished, that’s worth a second look. It’s a sign the two plans weren’t designed together.
How Many Recessed Lights Do I Need for My Kitchen?
The formula is straightforward. Divide your kitchen’s square footage by the coverage area of each fixture. That’s roughly 25 to 30 square feet per standard 6-inch recessed light for ambient coverage.
The Square-Footage Formula
Take your kitchen’s total square footage and divide by 25 to 30. That’s your starting fixture count for ambient coverage alone. Task zones, like the island and the main prep counter, need extra fixtures added on top of that number. Don’t fold them into it.
Worked Example: A 12×15 Houston Kitchen
A 12-by-15-foot kitchen is a common size in Houston’s older single-story suburbs and ranch remodels. It adds up to 180 square feet. Divided by 25 to 30 square feet per fixture, that gives you around six to seven recessed lights for ambient coverage. Add two or three more over an island or peninsula. Now you’re looking at eight to ten total fixtures for that kitchen. Open-concept kitchens that flow into a dining or living area need this math run separately for each work zone. Don’t lump it into one calculation for the whole room.
Pendant Lighting: Sizing, Height, and Style for Your Island
Pendants are the layer most homeowners picture first when they think about kitchen lighting. Getting the size wrong is one of the fastest ways to make an island look off.
Sizing Pendants to Your Island
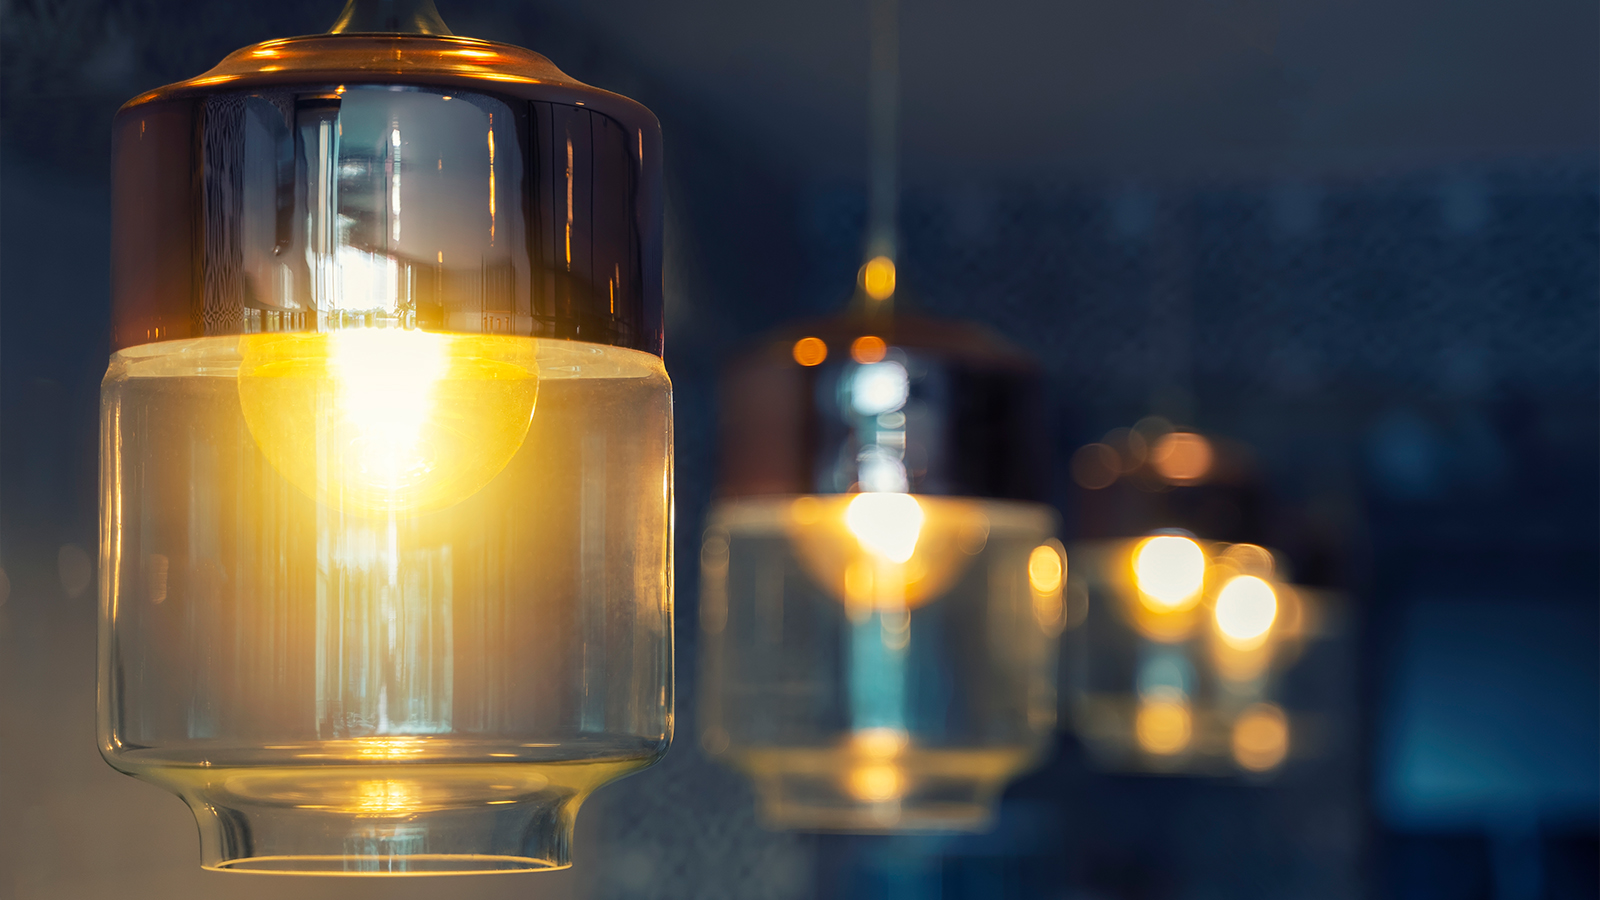
The combined width of your pendants, including the gaps between them, should cover about half to two-thirds of your island’s length. A 6-foot island usually calls for two medium pendants. An 8 to 10-foot island fits three smaller pendants. Or try two to three larger statement fixtures if you want a bolder look. Hang the bottom of each pendant 30 to 36 inches above the countertop surface. Measure from where you’ll actually stand to prep food, not from the floor.
Matching Pendant Style to Your Kitchen’s Look
Houston kitchens tend to fall into a few common styles. Transitional kitchens favor simple drum pendants that stay quiet and understated. Modern farmhouse kitchens lean toward linear or lantern-style fixtures. Contemporary kitchens often use sculptural glass or matte black pendants as a focal point. Kichler pendant fixtures cover all three looks. That makes them a solid benchmark to compare against whatever a contractor suggests. If you’re short on kitchen remodeling ideas for your island, browsing these three style directions side by side is often the fastest way to land on one. A breakfast nook or peninsula seating area usually calls for smaller lamps or mini-pendants than the main island, where the goal is softer ambiance rather than full task brightness.
Should Pendant Lights Be Dimmable?
Yes. Pendants over a kitchen island should sit on their own dimmer circuit, separate from the recessed and under-cabinet lighting.
Why Dimmers Matter More Than People Expect
A pendant does two jobs through the same fixture. During prep and cooking, it adds brightness over the island as a backup task light. During dinner or entertaining, it drops to a warmer glow and works as accent lighting instead. Only a dimmer lets one fixture serve both roles. That way, you’re not swapping bulbs or settling for one so-so setting.
Dimmer Compatibility and Wiring Notes
Name-brand dimmers, like Lutron dimmers in the Caseta or Diva line, are built to handle LED loads. They won’t cause the flickering or buzzing that cheaper dimmers cause on LED pendants. Many budget-focused contractors miss this detail entirely. They pair a modern LED fixture with a generic incandescent-rated dimmer, then wonder why it hums. A Houston electrician who knows remodel work will catch this mismatch before rough-in. That beats catching it after the drywall is patched and the fixture is already hung.
Under-Cabinet Lighting: Strip vs. Puck, Color Temperature, and Is It Worth It?
Under-cabinet lighting is the task layer homeowners most often skip in the planning stage. It’s also the one that makes the biggest daily difference at the counter.
LED Strip Lighting vs. Puck Lights
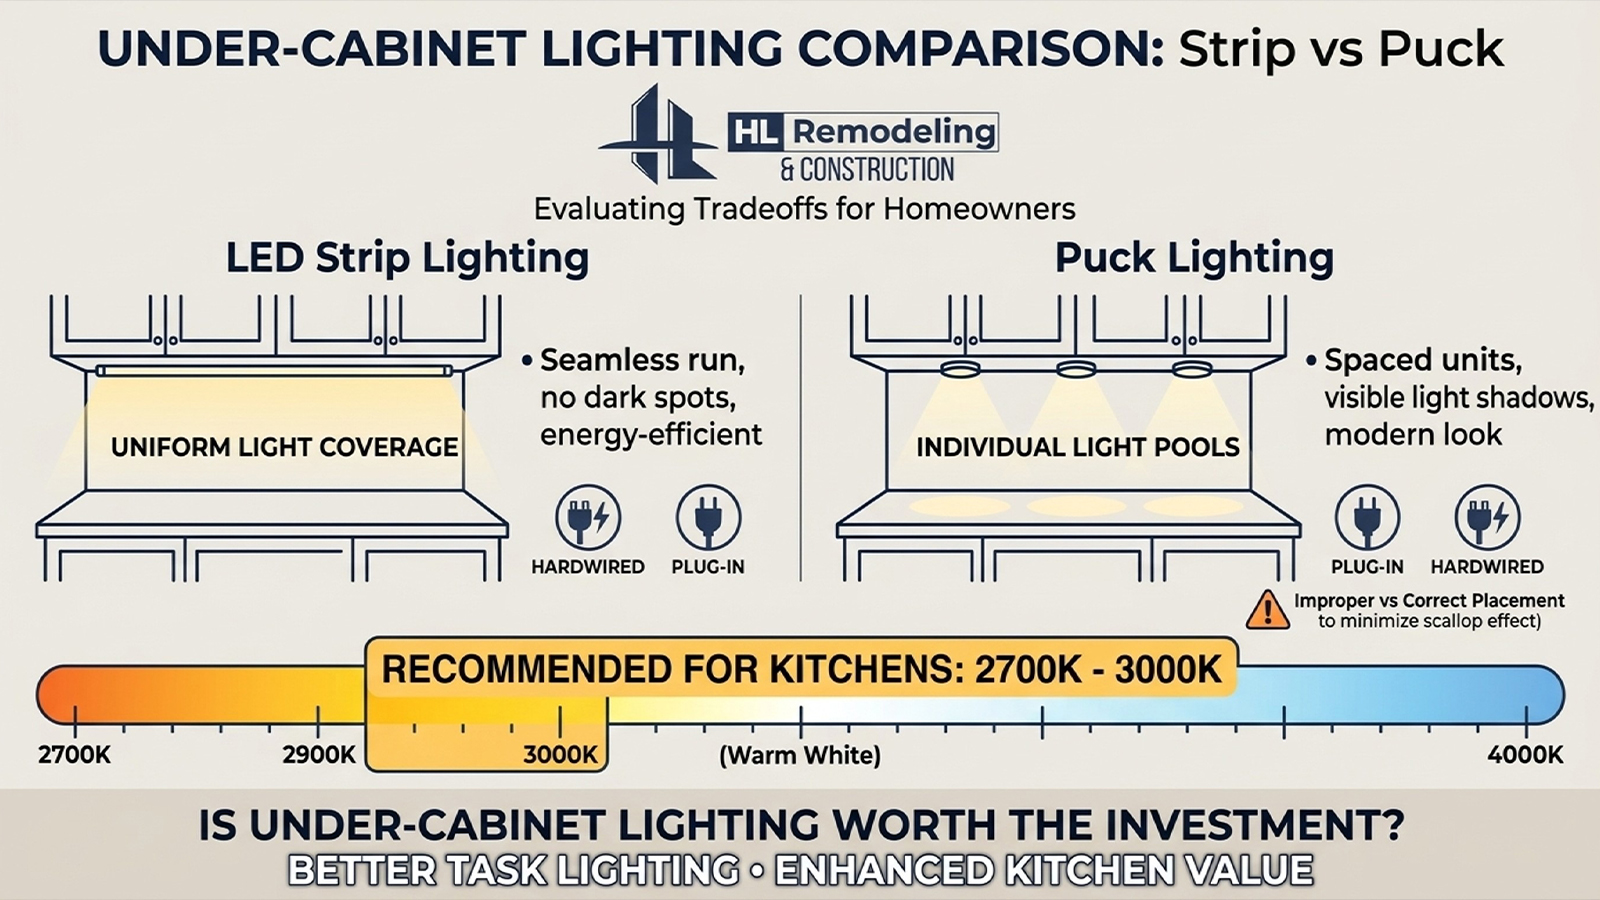
Under-cabinet LED strip lighting gives steady, even light across the whole counter with no gaps. That makes it the top choice for serious task lighting in a remodel. It’s also the one we recommend most when a client asks us to simply pick one. Puck lights are easier to add to existing cabinets since they’re small, self-contained fixtures. But they create visible hot spots with dim patches between each one. For a cutting board or a stretch of counter where you’re actually working, strip lighting wins. There are two main types worth knowing before you shop: linear LED tape and rigid LED bar fixtures. Both come in the 2700K to 3000K range we recommend for kitchens. Both qualify as under-cabinet lighting whether mounted as tape or as a rigid bar.
Hardwired vs. Plug-In: What Actually Holds Up
Hardwired strips get installed during electrical rough-in and stay fully hidden. There’s no visible cord or plug along the backsplash. Plug-in kits are faster to add later, but they leave a cord and outlet in view. That hurts the clean look most remodels are going for. Houston cabinets from the 1970s through the 1990s rarely came pre-wired for under-cabinet lighting. So if you’re keeping existing cabinets, this is a decision to make before demo starts, not after. Is it worth the added cost? Yes. Undercabinet lighting is the only layer that removes the shadows your own body and the upper cabinets cast across the counter. That’s something overhead recessed lighting can’t fix on its own.
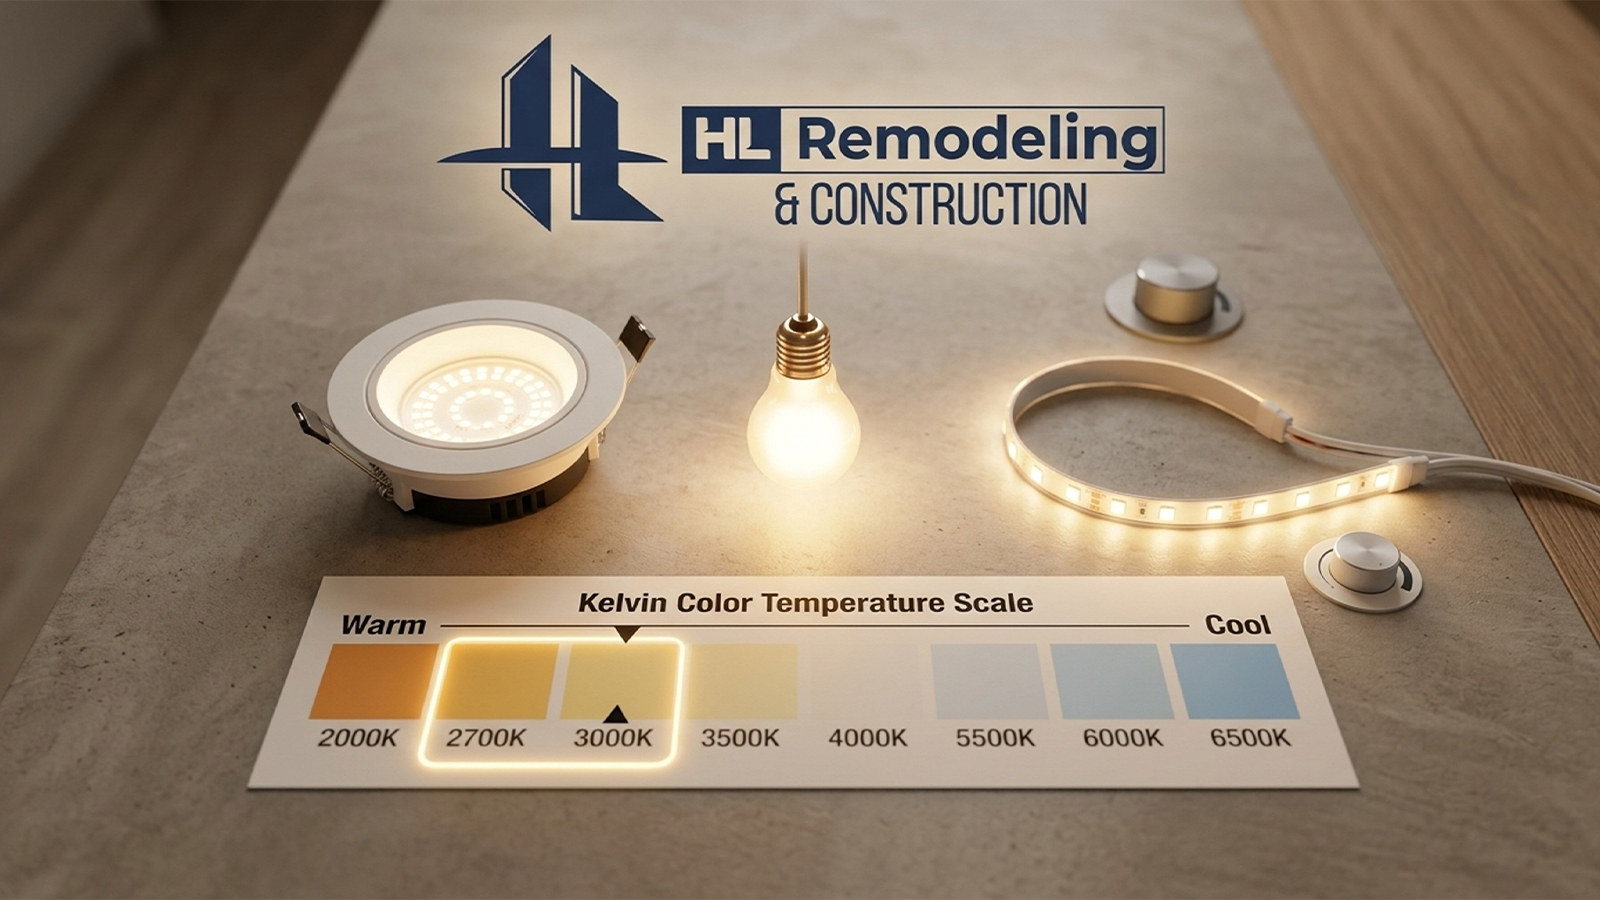
Color Temperature and Dimming Strategy Across All Three Layers
Kelvin color temperature measures how warm or cool a bulb’s light looks. Keeping it consistent across all three layers is what makes a kitchen feel finished instead of pieced together.
Choosing One Kelvin Range for the Whole Kitchen
Stick to 2700K to 3000K across recessed, pendant, and under-cabinet fixtures. That range reads as warm white, the tone most homeowners link with a comfortable, homey kitchen. Compare that to 3500K and up, which starts to feel cold and closer to a retail or office space. One of the most common complaints during a final walkthrough is a kitchen where the under-cabinet strip is a clearly different white than the recessed cans overhead. It’s a small mismatch, but it’s hard to unsee once you notice it. It’s also easy to prevent by standardizing your LED lighting choices across all three layers up front.
Task Lighting vs. Ambient Lighting: Brightness, Not Just Color
Task lighting versus ambient lighting isn’t only about color. It’s about brightness too. Under-cabinet and island prep zones need higher LED lumens output than general room lighting, even when both are set to the same Kelvin range. Separate dimmer zones for each layer, not just separate fixtures, let you shift the whole kitchen from full task brightness down to a lower, warmer mode for entertaining, without touching a single bulb.
Houston Electrical Permits, Code, and Climate Considerations
Any kitchen remodel in Houston that touches electrical circuits needs a permit pulled through the City of Houston Permitting Center. This includes new recessed cans, pendant junction boxes, or under-cabinet wiring. The work has to meet National Electrical Code standards along with Houston’s local rules.
Permitting Through the City of Houston Permitting Center
Only a licensed electrician can legally pull that permit and do the wiring. Skipping this step risks a failed inspection, delays if you sell the home later, or problems with an insurance claim down the road. Houston’s residential remodel permits usually take 1 to 15 business days to process. That’s worth building into your project timeline before you set a construction start date. This is one of the reasons we handle permit coordination directly as part of every kitchen project, so it’s never a step you’re left to chase down on your own.
Builder-Grade Mistakes We See in Houston Kitchens
Houston’s heat and humidity are a real factor too. Fixture finishes near windows or outside walls should be rated to handle humidity swings. LED drivers inside closed-off under-cabinet spaces need heat tolerance as well, so they don’t wear out early. We see a few patterns repeat across Houston tract homes built from the 1970s through the 2000s:
- A single ceiling-mounted fixture as the only light source in the whole kitchen, with no task or accent circuit at all.
- Recessed cans spaced on a generic grid that ignores where the cabinets and island actually ended up.
- No dedicated circuit for island pendants, meaning they’re tied to the same switch as the overhead cans with no separate control.
How Much Does It Cost to Add Kitchen Lighting During a Remodel?
Cost depends on fixture count, fixture quality, and how much labor it takes to get wiring where it needs to go.
Mid-Range vs. Luxury Lighting Budgets
Labor drives a bigger share of the cost difference than most people expect. Rough-in access, ceiling type, and whether cabinets need to come down to run new wiring affect the final price more than the fixtures themselves do. Fold your lighting plan into the overall remodel budget from the start instead of adding it as a late change. That way, you avoid the extra cost that comes with reopening finished work.
| Lighting Layer | Mid-Range Houston Remodel | Luxury Houston Remodel |
|---|---|---|
| Recessed lighting (6-10 fixtures) | $900-$1,800 | $2,000-$4,000 |
| Pendant lighting (2-3 fixtures) | $400-$900 | $1,200-$3,500 |
| Under-cabinet LED strip lighting | $500-$1,000 | $1,200-$2,500 |
| Dimmers and controls (Lutron or equivalent) | $200-$400 | $500-$1,200 |
| Total lighting package | $1,800-$4,500 | $5,500-$12,000+ |
One Houston client assumed their lighting budget would just be a small slice of a general electrical allowance. Once we walked the layout together and mapped out recessed, pendant, and under-cabinet circuits separately, the written estimate came in higher than their first guess. But it covered every fixture and dimmer, with no surprise bills once construction started. That’s the kind of detail a written, itemized proposal is meant to catch before it becomes a change order mid-project.

Let HL Remodeling Take the Guesswork Out of Your Lighting Plan
Lighting works best when it’s planned alongside cabinets, countertops, and tile, not added on after the fact. Our Lifestyle-Fit Design Blueprint includes photorealistic 3D renderings, so you can see your recessed, pendant, and under-cabinet plan before a single wall is opened. Our Signature Finish Showroom Experience puts lighting fixture choices in the same room as your cabinet, countertop, and tile choices. This way, the whole look gets decided together instead of piece by piece.
You now have the vocabulary and the numbers to walk into a design conversation as a real participant, not someone hoping the contractor gets it right. If you’re ready to turn these numbers into an actual plan for your kitchen, give us a call at (346) 837-0007 or request a free consultation online. We’ll walk through placement, brightness, color temperature, and cost together, and you’ll leave with a written plan instead of a verbal guess.
FAQ
What is the best lighting layout for a kitchen remodel?
The best lighting layout uses three layers: ambient recessed lighting for general room coverage, task lighting under the cabinets for countertop work, and accent lighting from pendants over the island for style and mood. Each layer serves a different purpose. A strong plan maps all three to your specific kitchen’s layout rather than using one generic grid of recessed cans. A designer or electrician should walk the actual floor plan with you before finalizing fixture count or placement.
How many recessed lights do I need for my kitchen?
Most kitchens need one recessed light for every 25 to 30 square feet of ceiling area for ambient coverage, plus extra fixtures over islands and task zones. A 180-square-foot kitchen usually lands around six to ten total fixtures once task areas are included. A licensed electrician should confirm spacing against actual joists and HVAC obstacles before any drilling begins.
What is the best color temperature for kitchen lighting?
The best color temperature for most kitchens is 2700K to 3000K, which reads as warm white and matches the tone homeowners expect in a home. Staying within that range across recessed, pendant, and under-cabinet fixtures keeps the whole kitchen looking consistent. A designer can help you shift slightly warmer or cooler depending on your countertop and cabinet tones.
How far apart should recessed lights be in a kitchen?
Recessed lights should be spaced using the ceiling-height-divided-by-two rule, so an 8-foot ceiling calls for spacing of about 4 feet between fixtures. Cabinet layout and island placement often require adjusting that spacing to avoid glare or gaps. A walk-through with your electrician before installation beats relying on a generic spacing chart alone.
Should pendant lights be dimmable?
Yes, pendant lights over a kitchen island should be dimmable and wired to their own circuit, separate from recessed and under-cabinet lighting. Dimming lets the same fixture work as task lighting during prep and softer accent lighting during entertaining. Matching the dimmer to your pendant’s LED driver is a detail best confirmed by an electrician who knows that specific fixture brand.
Is under-cabinet lighting worth it?
Yes, under-cabinet lighting is worth the added cost because it removes shadows cast by your own body and the upper cabinets, something overhead lighting alone can’t fix. Planning it into the electrical rough-in during a remodel costs far less than adding it into finished cabinets later. LED strip lighting in the 2700K to 3000K range is the most common and most effective choice for this layer.
How much does it cost to add kitchen lighting during a remodel?
A full kitchen lighting package usually runs $1,800 to $4,500 for a mid-range Houston remodel, and $5,500 to $12,000 or more for a fully layered luxury plan. Labor, ceiling access, and fixture quality all affect where your project lands in that range. A written, itemized proposal is the only sure way to know the true cost for your kitchen’s specific layout and fixture choices.
Do I need a permit for electrical work in a Houston kitchen remodel?
Yes, electrical work in a Houston kitchen remodel needs a permit through the City of Houston Permitting Center, and the work must meet National Electrical Code standards along with local rules. Only a licensed electrician can legally pull that permit and finish the wiring. Skipping this step risks a failed inspection and problems if you sell the home later.